The New Pipeline for Indie Game Assets
The traditional pipeline for creating animated 2D game characters is grueling: concept art, modeling, rigging, and frame-by-frame animation. It can take days to produce a single playable sprite sheet.
A new workflow combining Grok 3 (or any high-end image generator) and the “Sorceress Game Creation Suite” demonstrates how to compress this process into minutes. This method allows solo developers to generate a unique character, extract four directional views, and auto-generate a perfectly sliced sprite sheet ready for a game engine like Phaser.js.
1. Generating the Base Character Concept
The first step leverages an LLM to handle the creative heavy lifting. Instead of manually drawing or searching for assets, use a browser-based AI assistant (like Comet Browser or Grok) to brainstorm.
The Prompt Strategy:
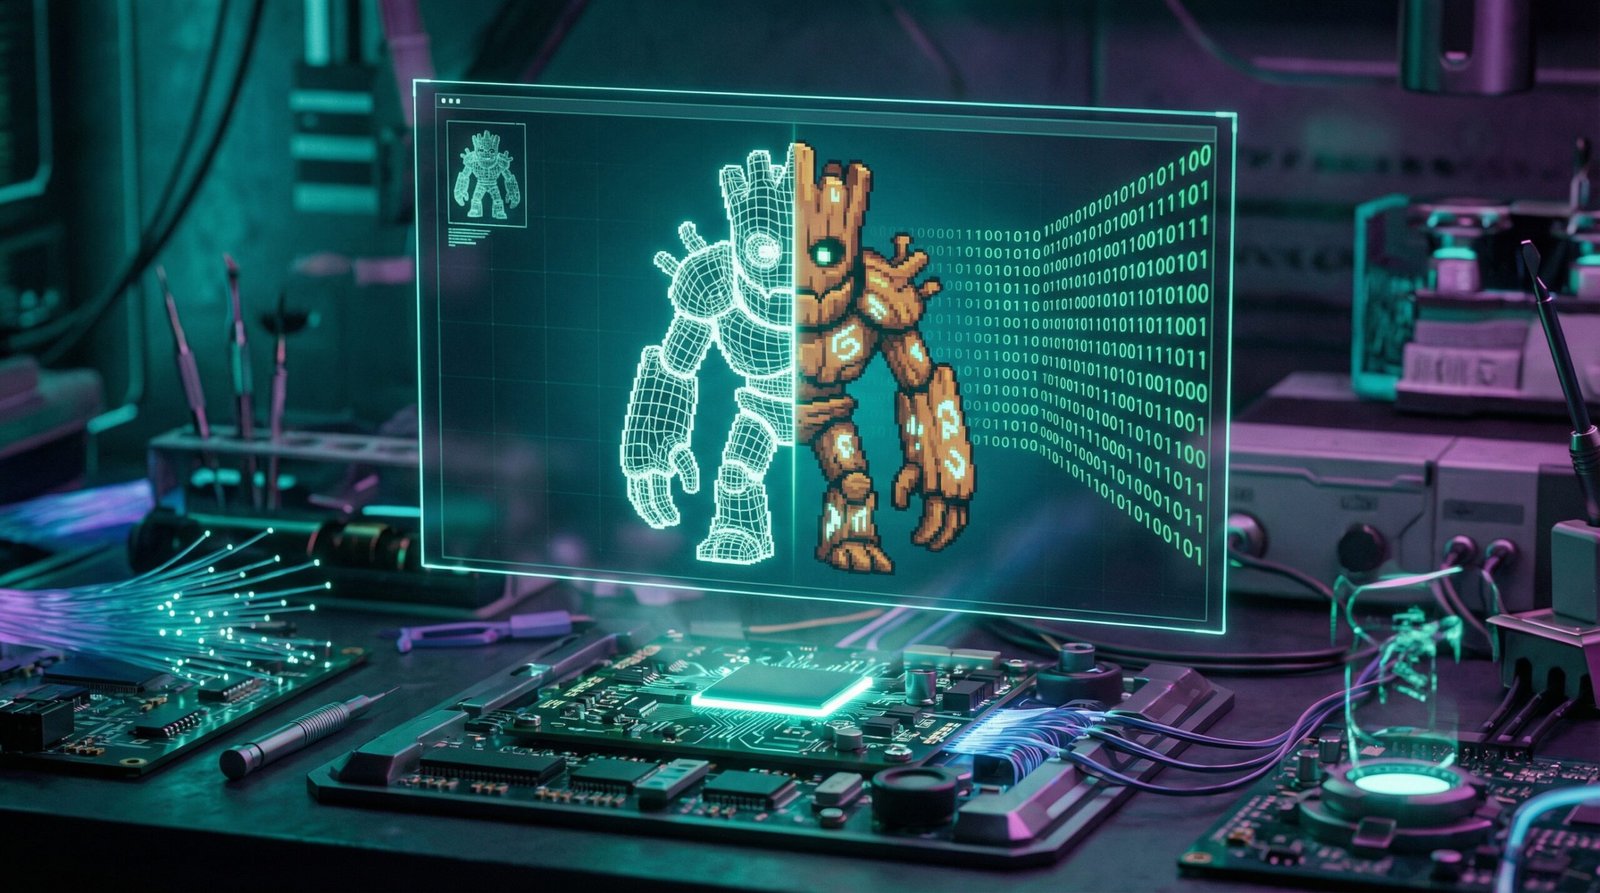
Ask the AI to generate 20 pixel-art character concepts. Be specific about the vibe: “Interesting hero character with an indie dev pixel art look.”
Once a concept resonates (e.g., a wooden golem or “Groot-like” figure), isolate that image. This becomes the “seed” for all future generation.
2. Multi-Directional View Generation
A playable character needs to be seen from multiple angles. Using an image-to-image workflow, feed the seed character back into the generator with specific directional prompts.
Critical Configuration:
- Background: Specify a solid color (e.g., bright green or blue) to act as a chroma key.
- Lighting: Request “no shadows” to ensure clean sprite extraction.
- Consistency: Use a consistent art style model (e.g., GPT Image 1.5 or similar pixel-art fine-tunes).
The Prompts:
- Side View: “Perfect side view of this character on a solid green background, no shadow.”
- Front View: “Perfect front view…”
- Rear View: “Perfect back view…”
Pro Tip: If the AI generates extra details like moss or complex textures that blend with the green screen, switch to a blue background to ensure the chroma key works effectively later.
3. Generating Animation Frames (The “Video” Hack)
Instead of generating static poses one by one, use an Image-to-Video AI (like Kling or Grok Imagine) to hallucinate movement.
The Workflow:
- Upload the static view (e.g., the side profile).
- Prompt: “The character is walking in place, side view.”
- The AI generates a short video clip of the character walking.
- Repeat for all directions (Front Walk, Rear Walk) and an Idle animation (e.g., “Character standing idle, breathing”).
This step replaces manual rigging. The AI infers the biomechanics of the character and produces a surprisingly fluid walk cycle in seconds.
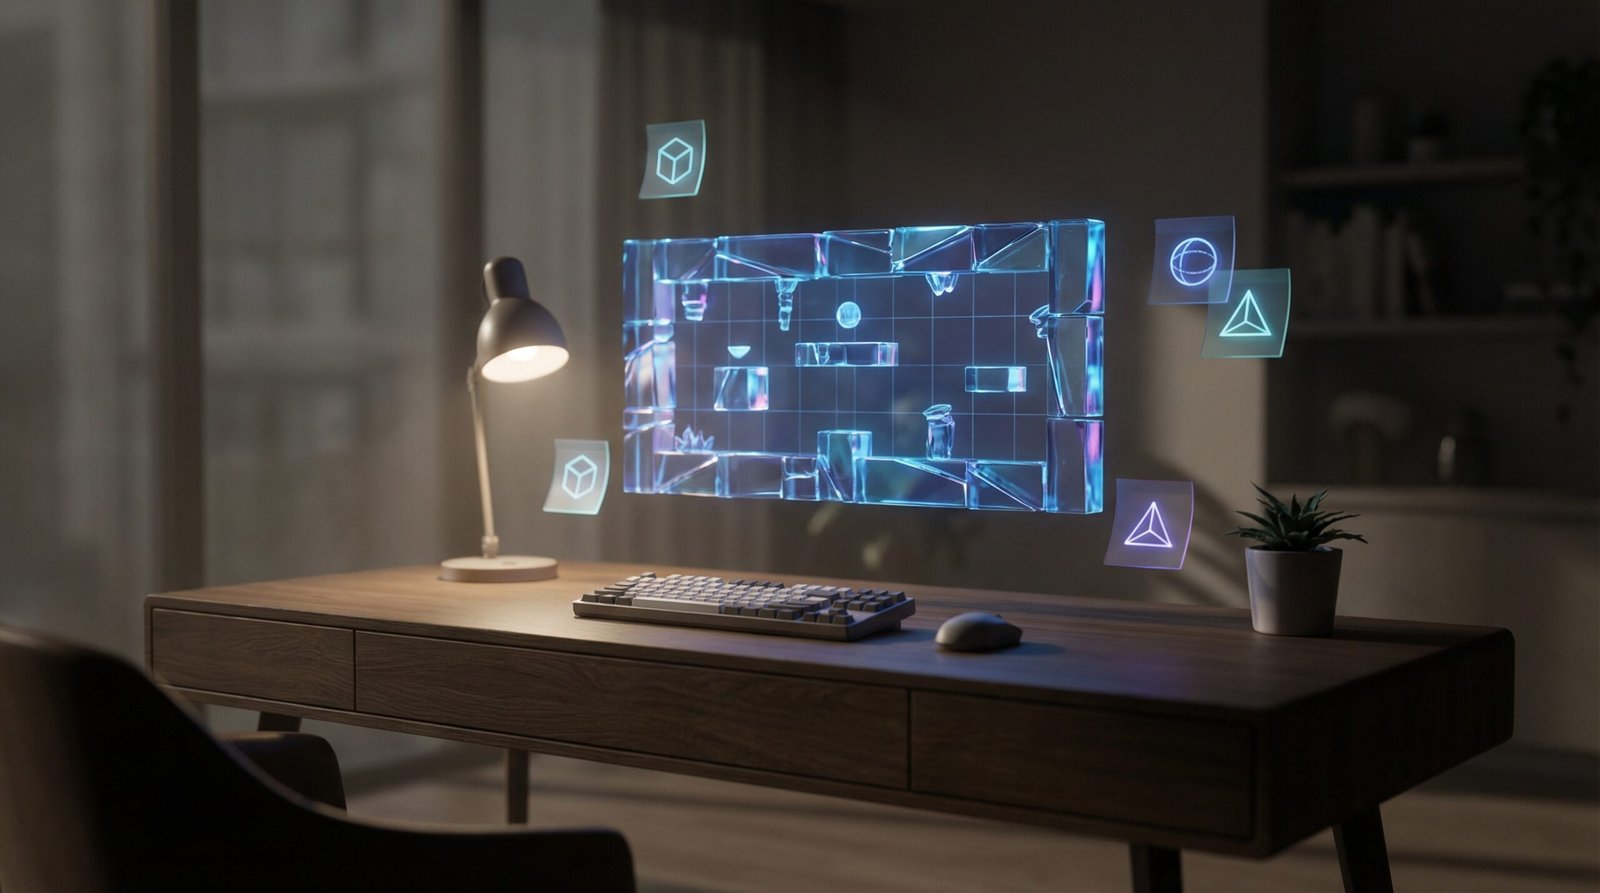
4. Batch Processing and Sprite Extraction
The raw video files need to be converted into usable game assets. This is handled by the Sorceress Game Creation Suite (specifically the “Spritely” tool).
The “Spritely” Workflow:
- Batch Upload: Upload all four video files (Front, Back, Side, Idle).
- Chroma Keying: Select the background color (green/blue) to remove it instantly.
- Halo Removal: Apply a 1-2 pixel “halo remover” to clean up rough edges left by the AI generation.
- Frame Extraction: The tool automatically extracts frames from the video. You don’t need every single frame; extracting every 2nd or 3rd frame usually results in a cleaner, more retro look.
- Sprite Sheet Generation: The tool packs these frames into a single .png sprite sheet, organized by animation row.
5. Automating the Code Implementation (Vibe Coding)
With the sprite sheets ready, the final challenge is implementation. Instead of writing the animation logic manually, use an AI coding agent (like Cursor or Windsurf) to write the Phaser.js code.
The “Phaser Code” Prompt:
Provide the AI with the sprite sheets and a specific instruction block:
“Take a look at these sprite sheets (Idle, WalkForward, WalkSide, WalkRear). Create a Phaser.js scene with a WASD movement system. Play the ‘Rear’ animation when moving up, ‘Side’ when moving left/right (flip the sprite for left), and ‘Forward’ for down. Use the Idle animation when standing still.”
The Result:
The AI generates a complete index.html and game.js file. It handles:
- Loading the assets.
- Defining the animations (start frame, end frame, frame rate).
- Mapping keyboard input to velocity and animation states.
Within minutes, you have a browser window open with your custom AI-generated character walking, idling, and responding to controls. The fidelity might not be pixel-perfect compared to a hand-crafted asset, but for prototyping or solo indie development, the speed-to-quality ratio is unmatched.