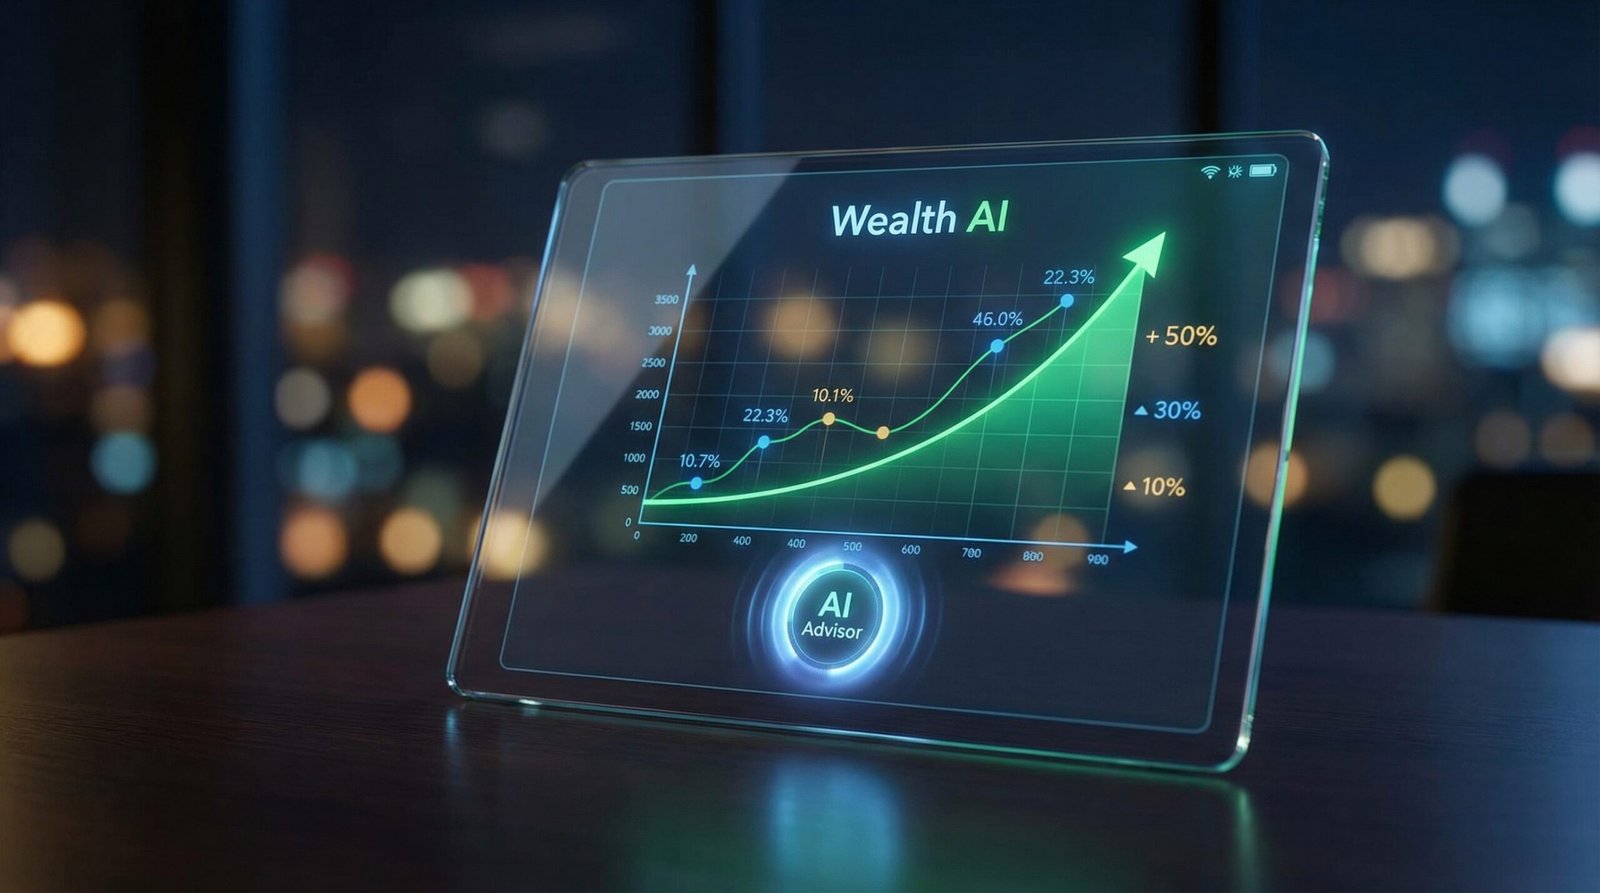
The traditional web development workflow, characterized by the slow grind of drag-and-drop builders or the manual labor of hand-coding CSS, is approaching an architectural dead end. Google Anti-Gravity appears to be the catalyst for this shift. This analysis examines a high-speed cloning workflow that bypasses manual replication, leveraging an autonomous AI agent to analyze, structure, and deploy a fully realized web environment based on existing high-end references.
The New Architecture: Beyond Squarespace and Webflow
While Elementor and Wix Studio have dominated the “no-code” space, they remain limited by human input speed. Google Anti-Gravity operates as a sophisticated “Thinking Agent.” It doesn’t just copy code; it observes a target site’s behavioral DNA: its scroll sequences, state management, and asset hierarchy, and recreates it from the ground up using an internal reasoning engine.
Phase 1: Source Intelligence and Environment Setup
The process begins with high-fidelity inspiration. The industry standard for these references is Awwwards, where cutting-edge UI/UX trends are established.
- Selection: Identify a target site with complex interactions (e.g., an immersive “Rainforest Experience”).
- Environment: Launch the Anti-Gravity Agent Manager.
- Initialization: Create a dedicated Workspace (e.g., “Forest-Clone-Project”).
Phase 2: Crafting the Master Prompt
The quality of the clone is directly proportional to the clarity of the initial prompt. You aren’t just giving a command; you are defining an implementation logic.
The Technical Prompt Structure:
Can you recreate this website [URL] as closely as possible?
I need you to match the following specific attributes:
- The overall layout and section structure.
- The scroll behavior and navigation triggers.
- The animation entry and exit points.
- Typography and color scales.
Once submitted, the agent utilizes a model like Claude 3.5 Sonnet (Thinking) or a specialized Gemini 2.0 Pro variant to parse the live URL.
Phase 3: The Implementation Plan Analysis
Before a single line of code is written, Anti-Gravity generates a Comprehensive Implementation Plan. This is a critical checkpoint. The plan breaks down the project into:
- Core Structure: Main containers for sliders and fixed navigation overlays.
- Style Logic: CSS resets, typography mapping using Google Fonts, and color variable definitions.
- Scripting: State management to track scroll indices and debounce scroll events.
- Asset Management: Use of generative image tools to create placeholder backgrounds if direct downloads are restricted.
Critical Step: Users must review the “Automated Tests” and “Manual Verification” sections of the plan. If the AI’s plan to handle state management seems insufficient for a complex slider, it should be corrected here by clicking “Proceed” or providing a corrective note.
Phase 4: The Build Cycle (Autonomous Interaction)
Upon approval, the agent enters Browser Mode. It opens the reference site in a sandboxed browser, records the DOM structure, takes multiple high-resolution screenshots of various viewport states, and records motion data.
During this phase, the agent is building the site in real-time. The initial output is often 85-90% accurate in terms of layout and assets, but motion logic frequently requires a second pass.
Phase 5: Motion Refinement and Logic Correction
Animations are rarely “1 to 1” on the first try. A common discrepancy occurs when an agent interprets a horizontal slider as a standard vertical fade.
The Correction Workflow:
- Navigate to the Agent Interactor.
- Provide a Behavioral Correction Prompt:
The current transition is a fade-in effect. Correct this to be a horizontal slider.
The transition should move left-to-right, matching the reference site's scroll velocity exactly.
Then Regenerate: The agent will rewrite the JavaScript logic for the slider and update the CSS transition parameters.
Phase 6: Pixel-Perfect Refinement via Visual Context
The most efficient way to handle micro-layout details: padding, font-weight, or alignment issues, is not through text, but through Visual Feedback.
- Capture: Take a screenshot of the cloned site’s problematic section.
- Annotate: Highlight the specific area where the alignment is off.
- Input: Upload the image directly into the Anti-Gravity chat.
- Prompt:
Fix the text alignment and padding in this section. Refer to this screenshot for the exact pixel-level discrepancy.This Screenshot Method utilizes the agent’s computer vision capabilities to bypass the ambiguity of descriptive language, resulting in immediate, accurate fixes.
Phase 7: Performance Optimization and QA
A high-end clone is useless if it fails Core Web Vitals. The final step in the workflow involves integrating a performance plugin like Airlift to ensure a 90+ Page Speed Score.
- Transition Testing: Scroll from header to footer multiple times to ensure no breakages in the scroll-jack logic.
- Overlap Check: Verify that absolute-positioned elements do not overlap clickable components like “Discover” buttons or menu icons.
- State Verification: Ensure the “Active” state of nav items updates correctly as the user progresses through the site sections.
The Ethical Verdict
While Anti-Gravity provides the technical capacity to clone any environment, this workflow is best utilized as a prototyping and educational tool. Replicating work as a starting point for original customization, rather than direct theft, remains the professional standard for high-end design.